Senior Design - 3 lb Battlebot

A 3 lb and under $300 battlebot designed in partial fulfillment of the requirements for ME 366J. The battlebot placed 2nd of 14 in the class competition.
Published on December 06, 2024 by John Lyle
Robotics Design Electronics
Summary
Problem Statement: Use design methodologies learned in class to brainstorm, design, prototype, and manufacture a 3 lb battlebot for under $300.
Project Timeline: From beginning design to competition day this project spanned 8 weeks. Our team decided to design a 2-wheel drive bot with a relatively thin vertical spinning weapon and a ramp to get under our opponents. First, we selected our electronics and ordered those. Next, we prototyped our battlebot by laser cutting and 3D printing our design to test sizing and ease of assembly. Once our design was finalized we ordered the majority of our custom components from SendCutSend and then ordered the rest of our COTS parts. We made a few in house modifications to some of our COTS parts per our design requirements. After all the parts arrived we assembled the battlebot and began testing and practicing driving. On competition day we placed 2nd in our class out of 14 teams.
Overview of Contributions
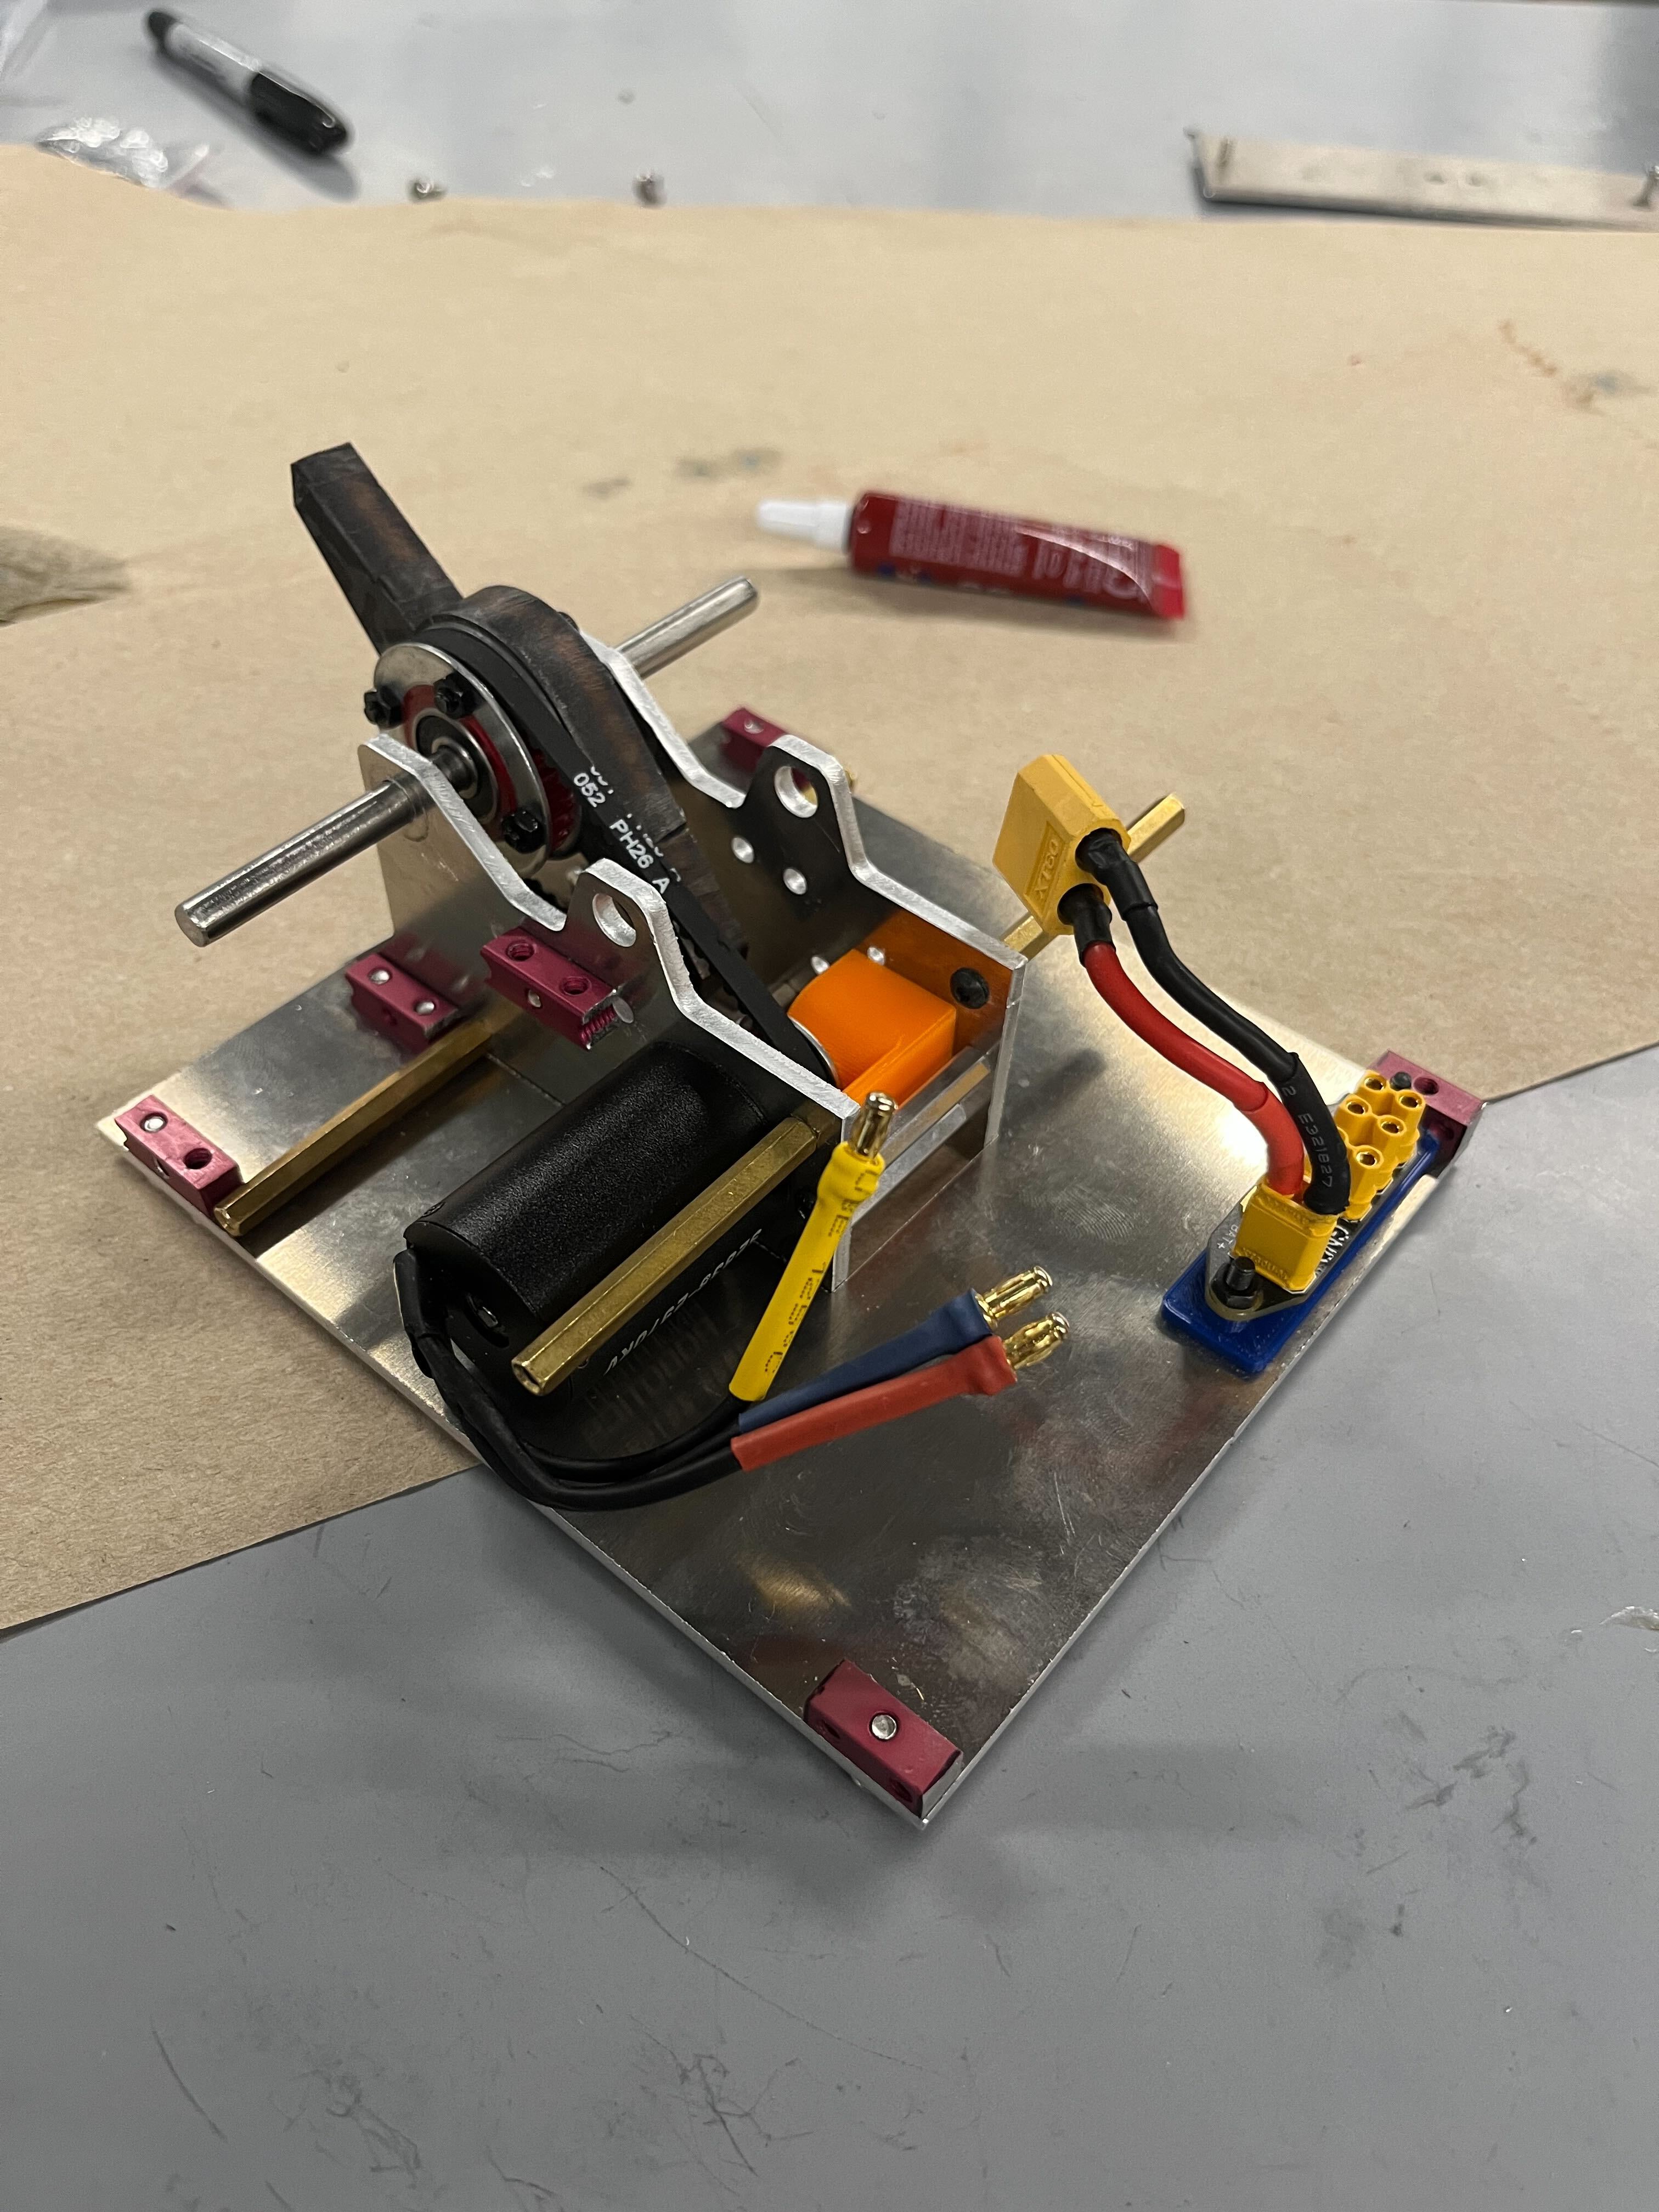
General Design Philosophy: With my past battlebots experience I contributed heavily to the overall design philosophy and strategy for our robot. I knew that a majority of teams would be unlikely to use all metal frames due to budget, weight, and time constraints. Because of this I focused our design on having a majority aluminum frame in as compact of a space as possible. I came up with the idea of using a series of aluminum plates mounted together using standoffs and nut blocks. By having each major piece of the frame be a 2D profile we were able to keep manufacturing costs quite low. Below is an image of the inner structure of our bot prior to the outer panels being assembled. This design gave us very high structural integrity and kept our form factor quite small while still allowing space for all necessary electronics components.
Inner Structure
Electronics: One of the main struggles I have seen in the past with budget 3 lb battlebots is unreliable electronics that tend to fail. Because of this, I pushed for our team to dedicate a larger portion of our budget to electronics. This ended up being around 50% of our overall budget and allowed us to use high-quality speed controllers for all of our motors. I designed our electronics system to have easily swappable components and no single piece was directly wired to another without an XT60 or XT30 connector. The system ran using a 3s 850 mAh battery that would last us long enough to run weapon and drive motors for a full match. My work on the electronics subassembly also included ensuring the bot met all safety requirements. These included a visible power LED, failsafe, and a manual power disconnect.
Rear Image Highlighting LED

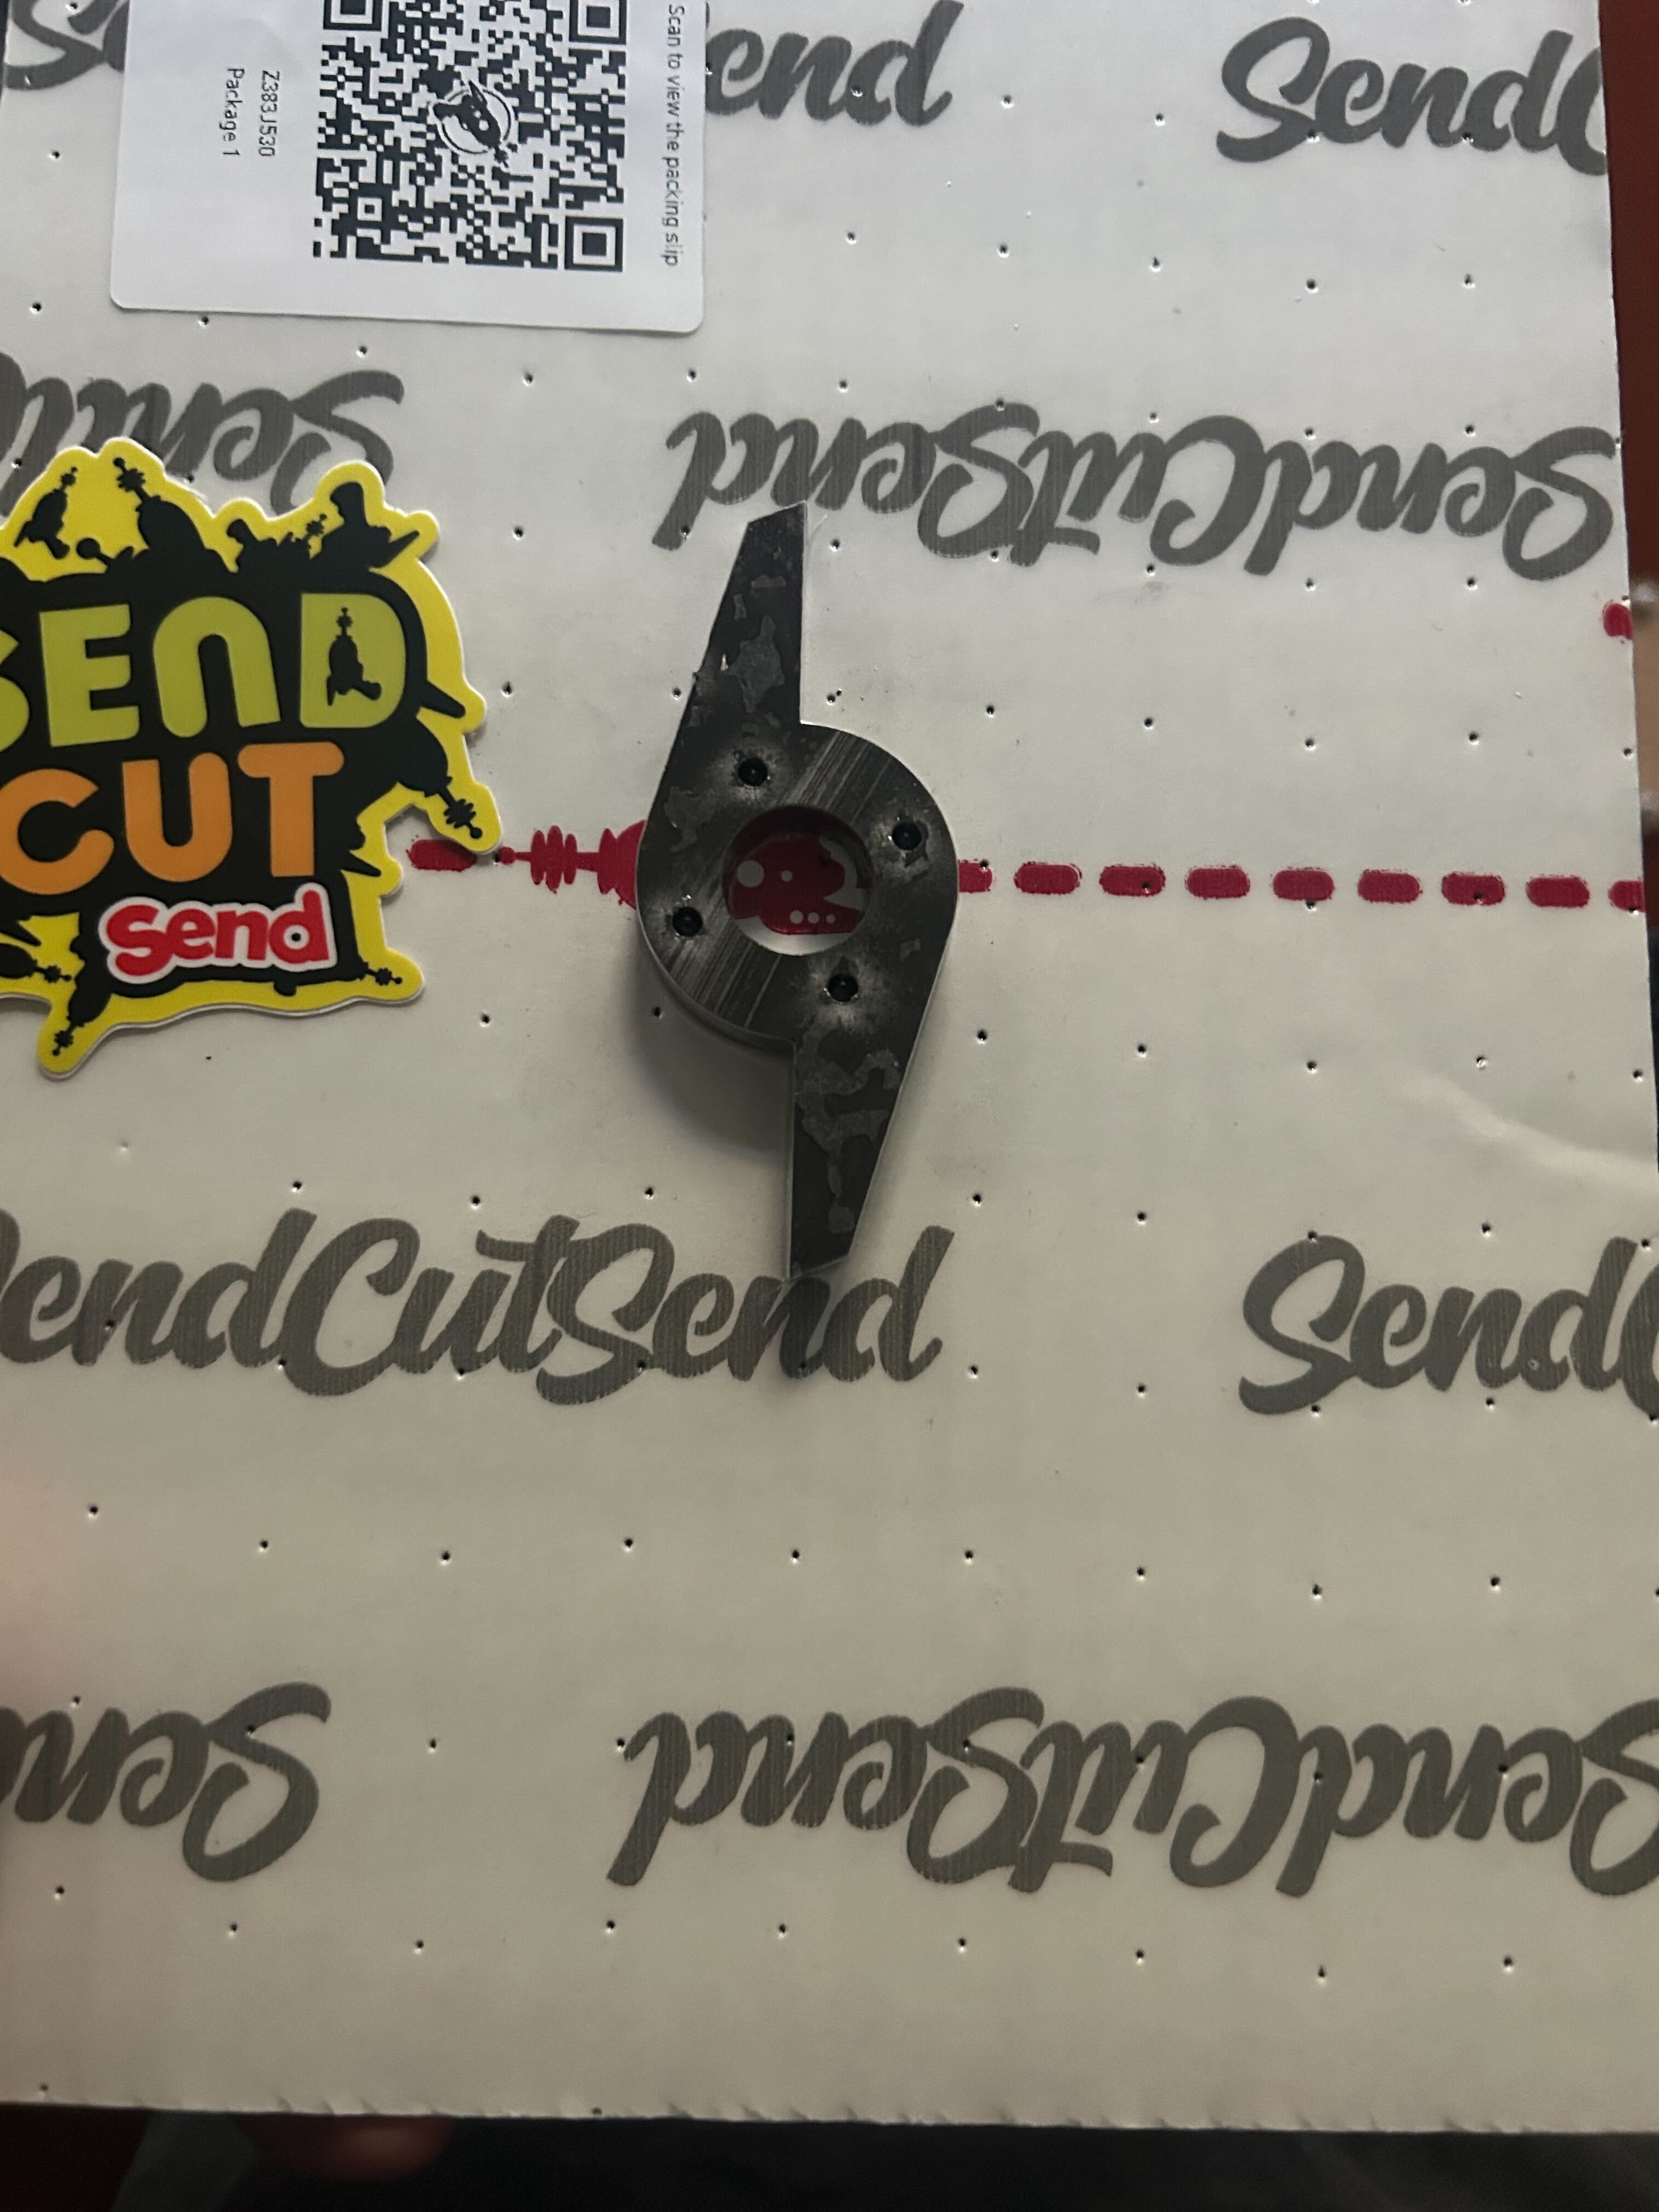
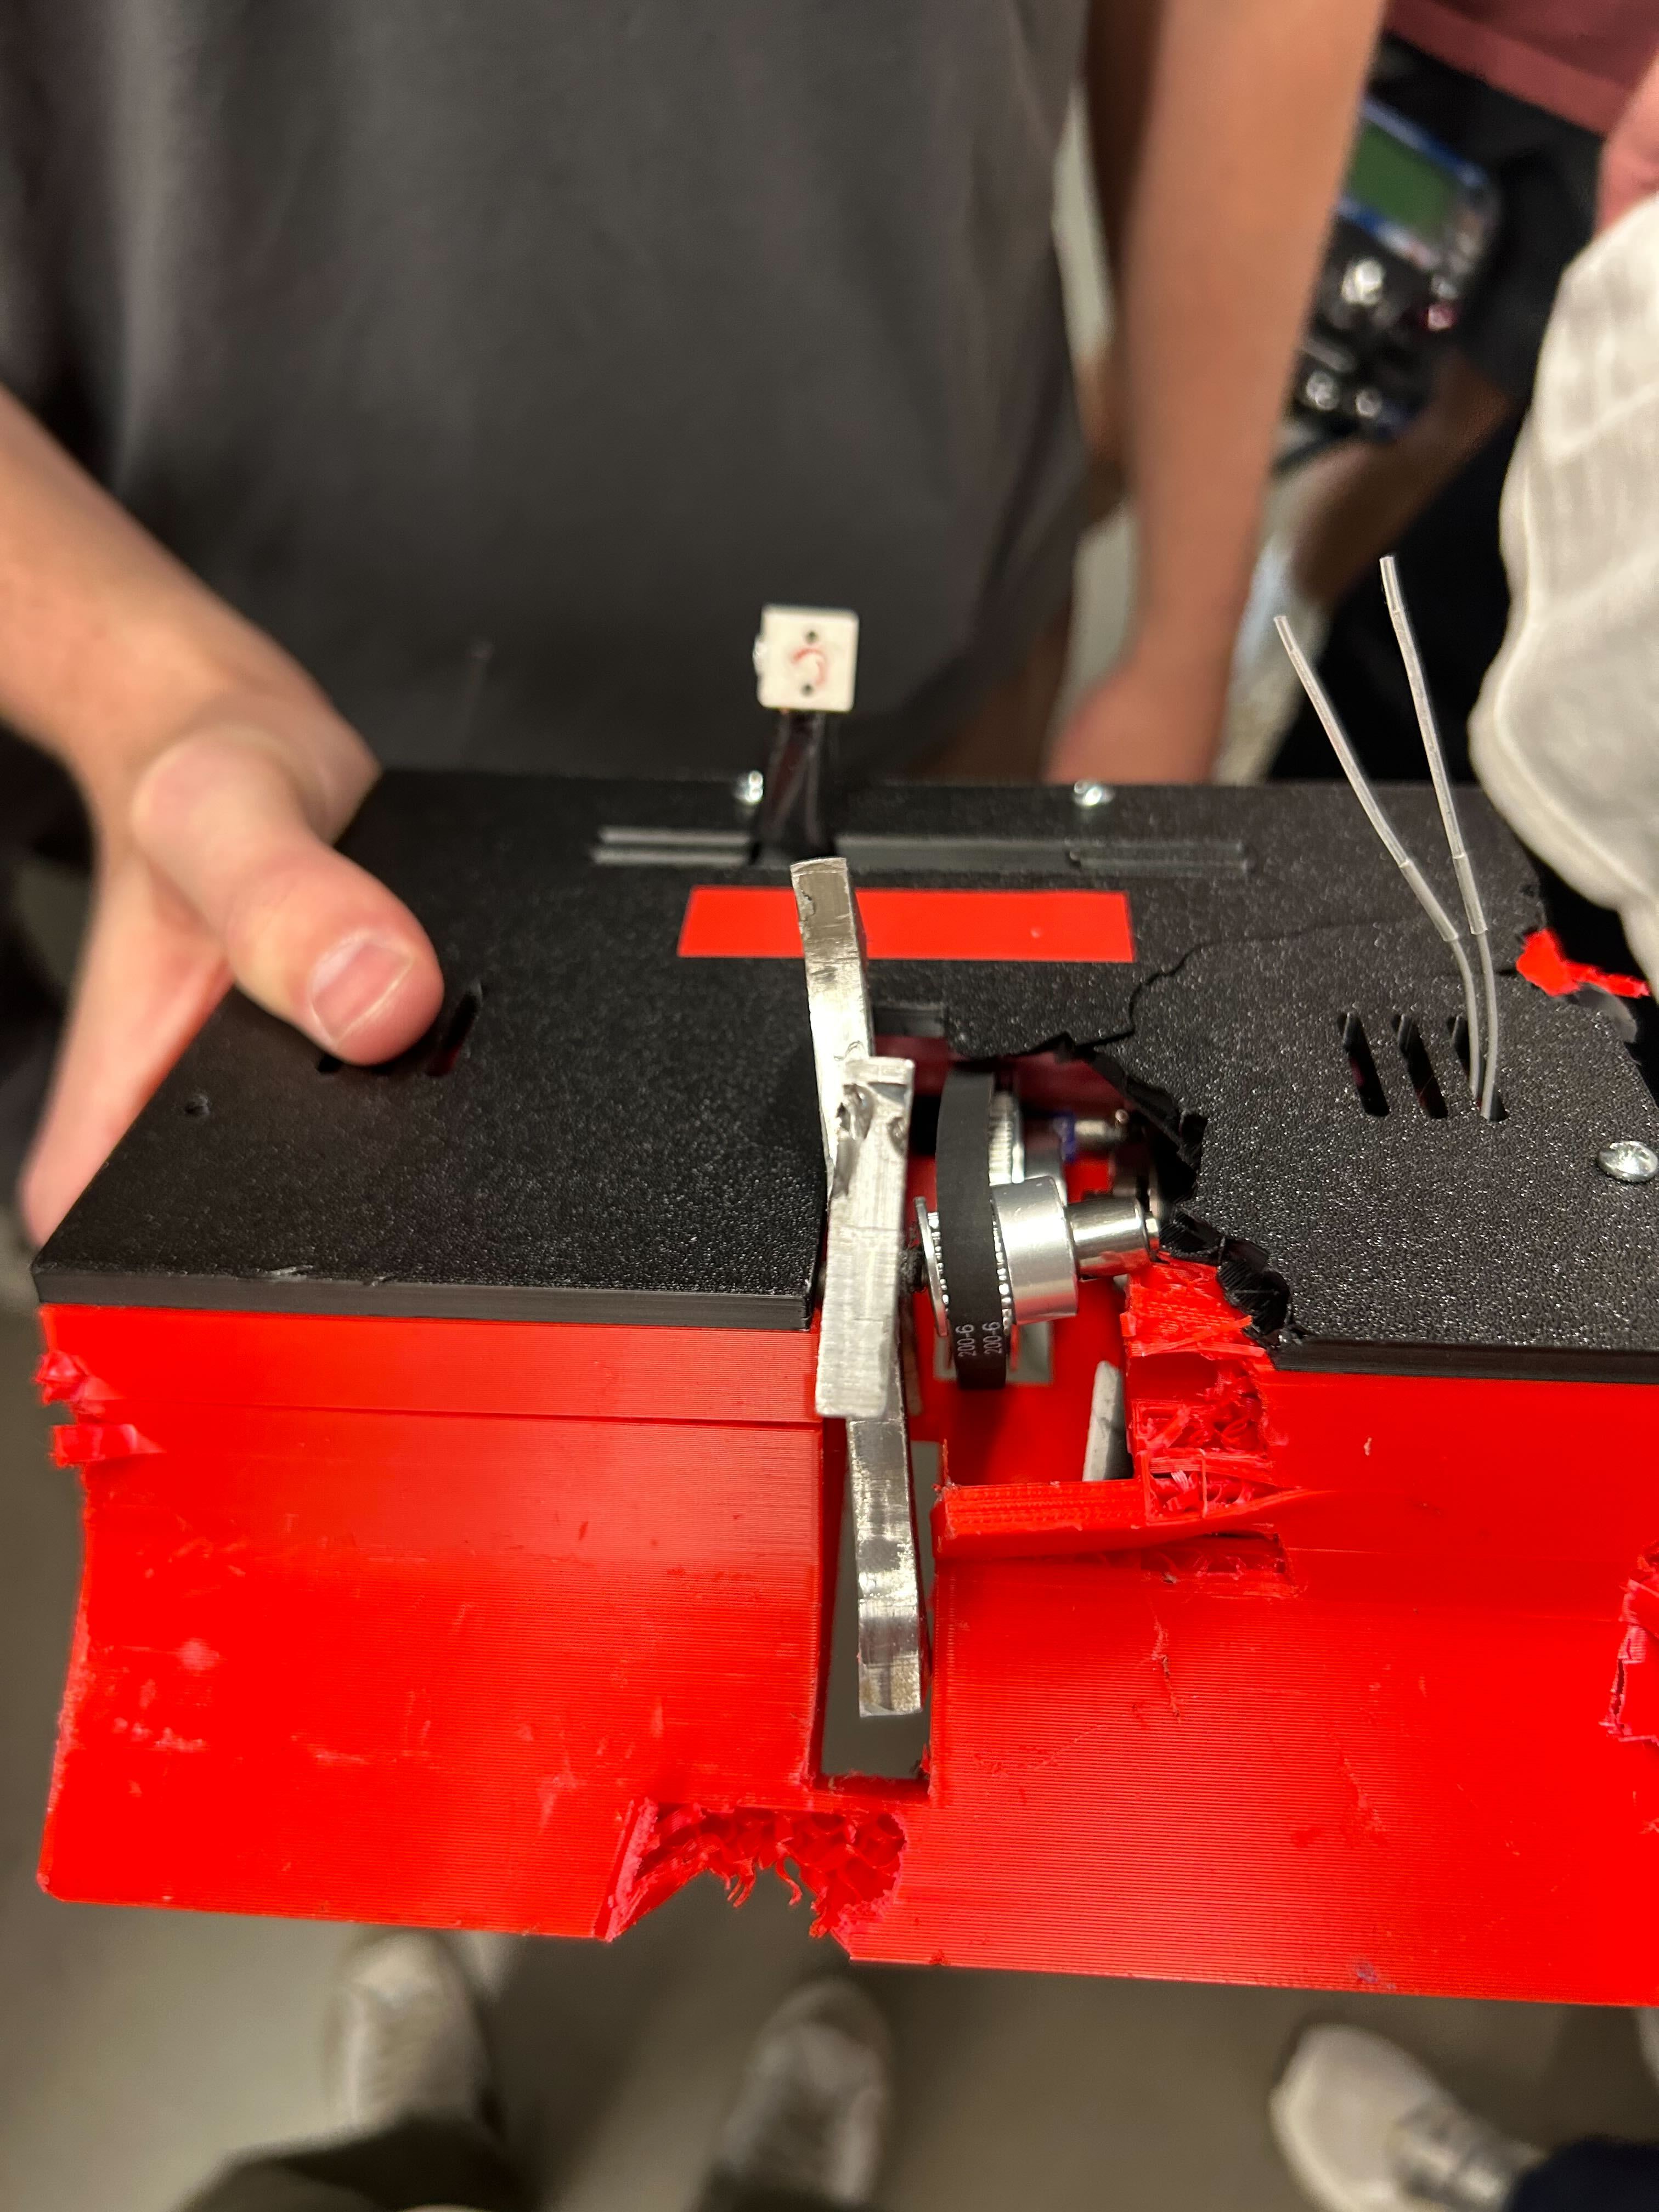
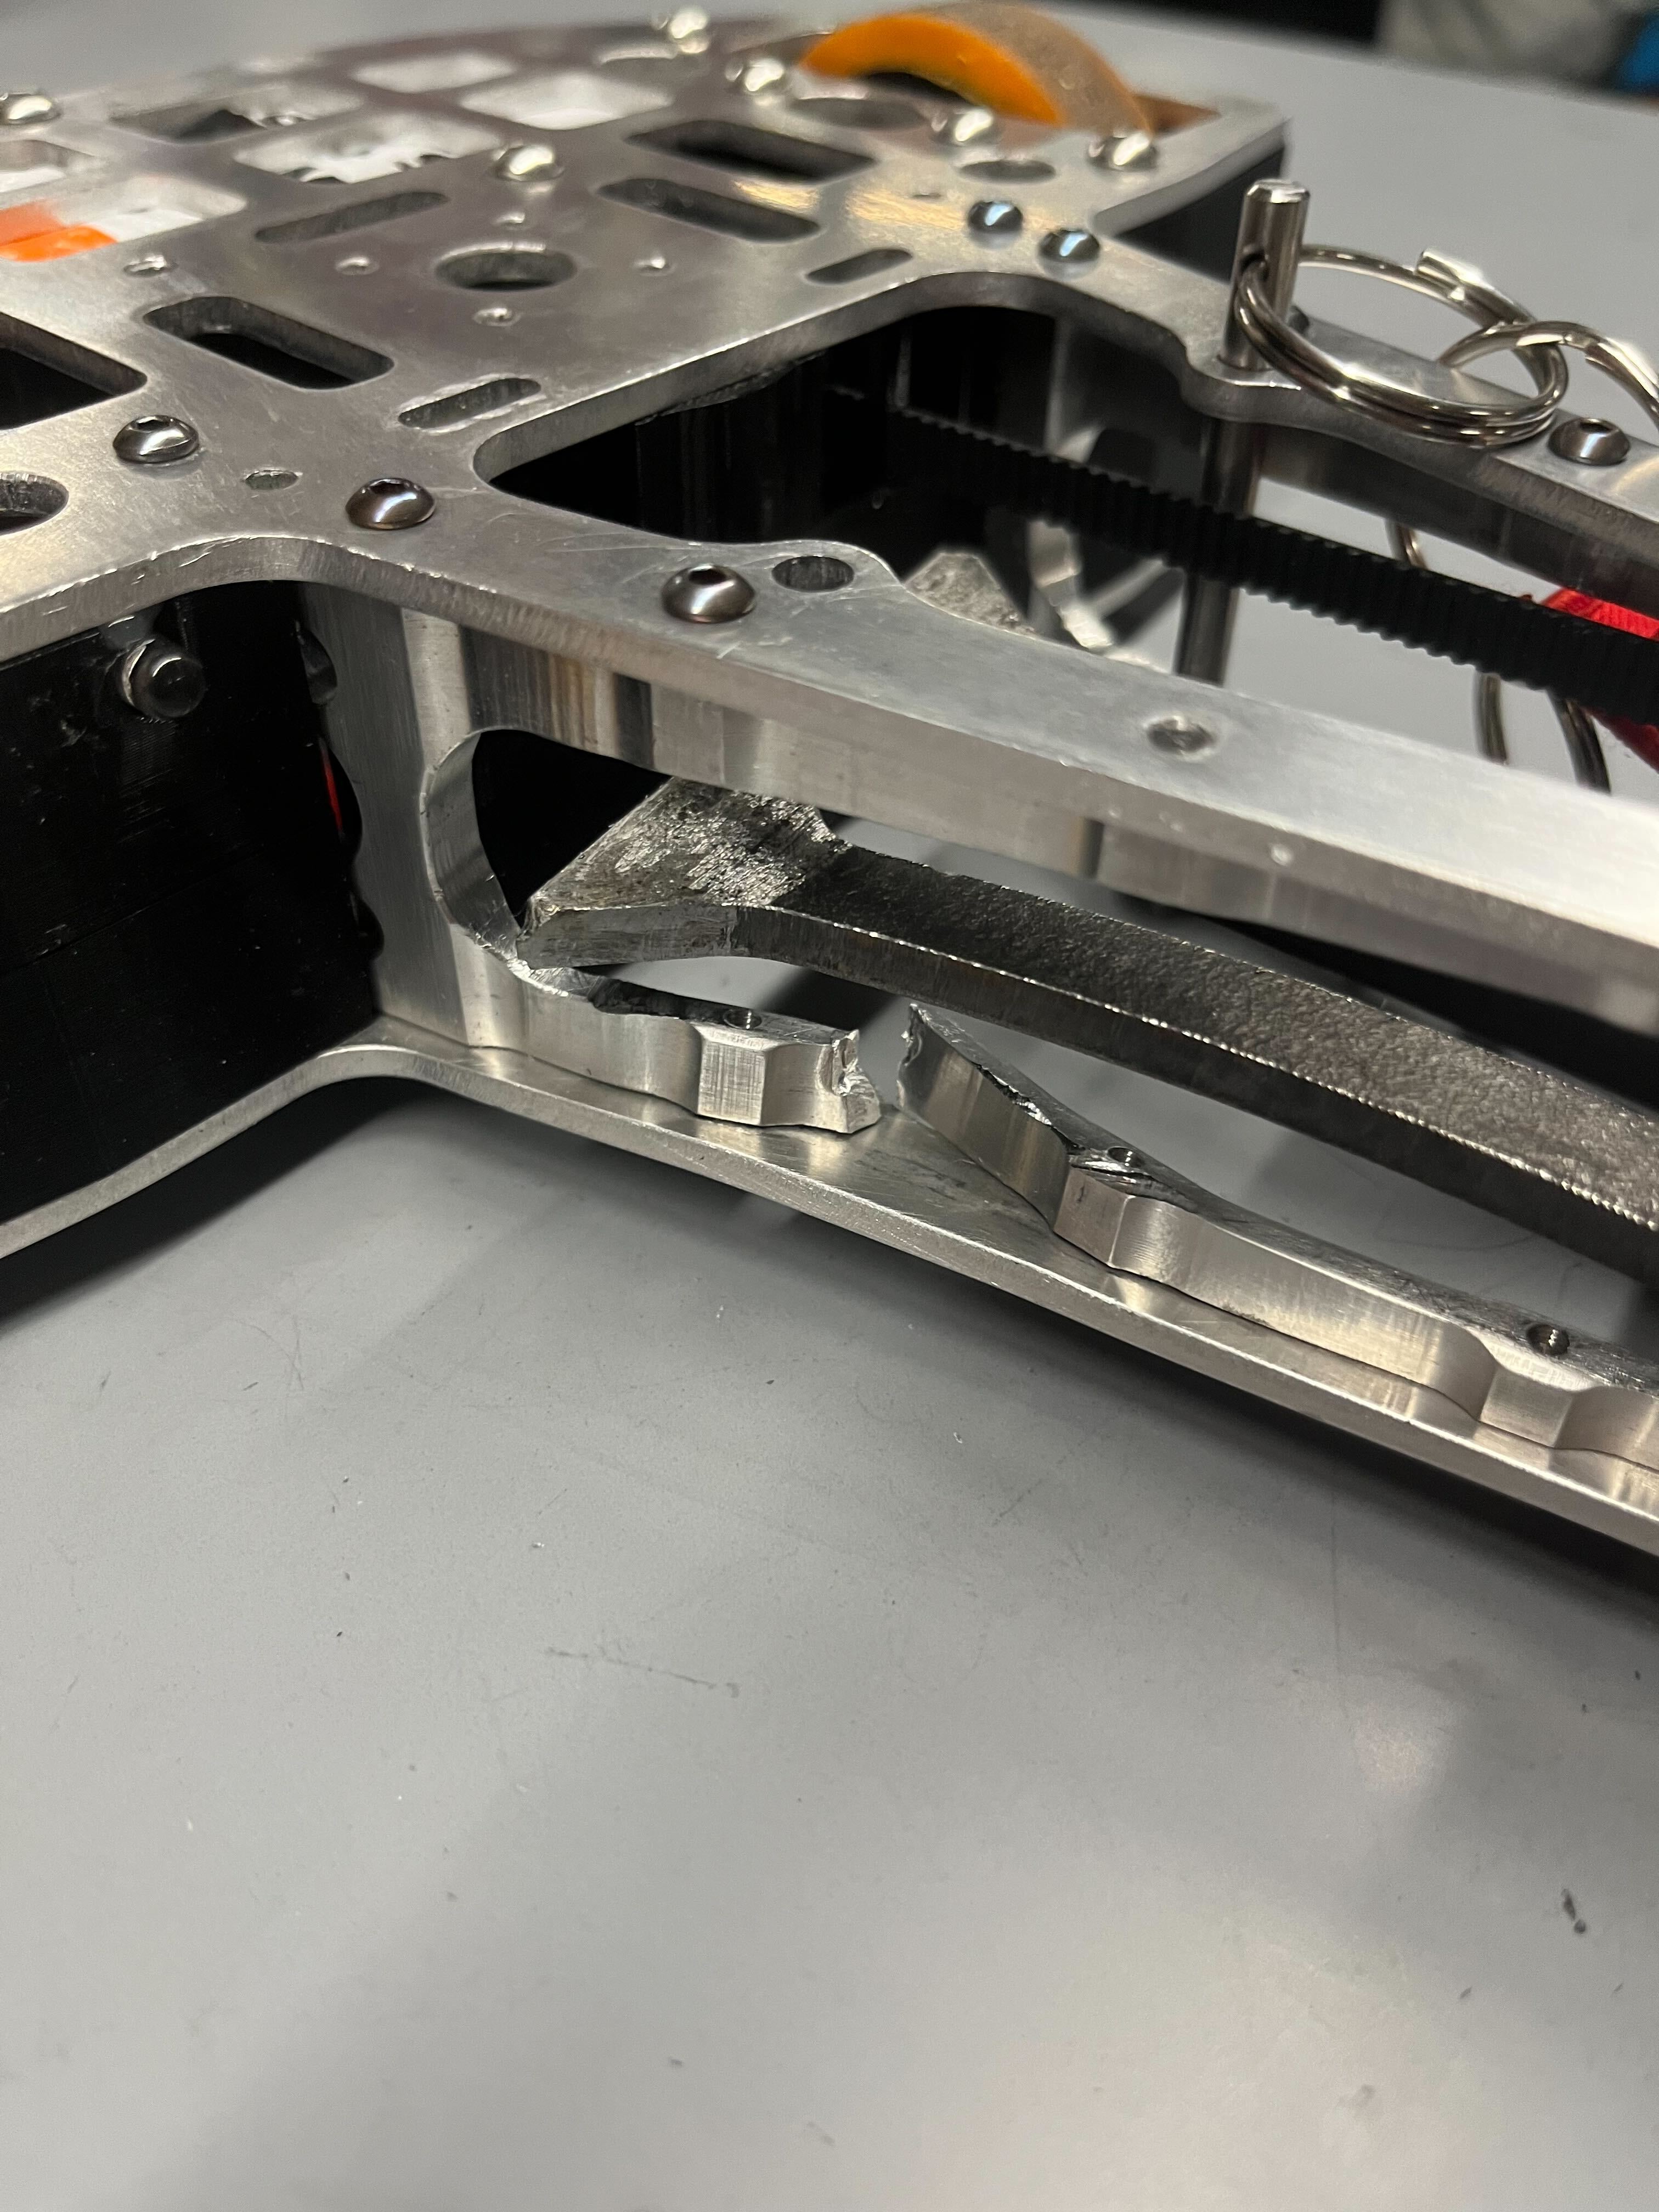
Weapon Subassembly: Our weapon was a vertical spinner with a dead axle that used a timing belt between two pulleys to transmit motion from the motor to the weapon itself. I assisted heavily in the design choices behind our weapon, primarily influencing our decision to use 2 bearings to assist in counteracting side impacts to the weapon and any resulting moments from these impacts. The weapon was mounted to a timing pulley that had 4 through holes for bolts. Both the weapon and the pulley had a bearing press-fit into them which allowed the weapon to rotate freely around the axle while having good resistance to radial and moment loads. The weapon was made of AR-500 steel that was laser cut by SendCutSend. In competition, our weapon was very successful and bent the steel weapon of one of our opponents and fractured the aluminum frame of another.
AR-500 Weapon
Deformed Weapon
Fractured Frame
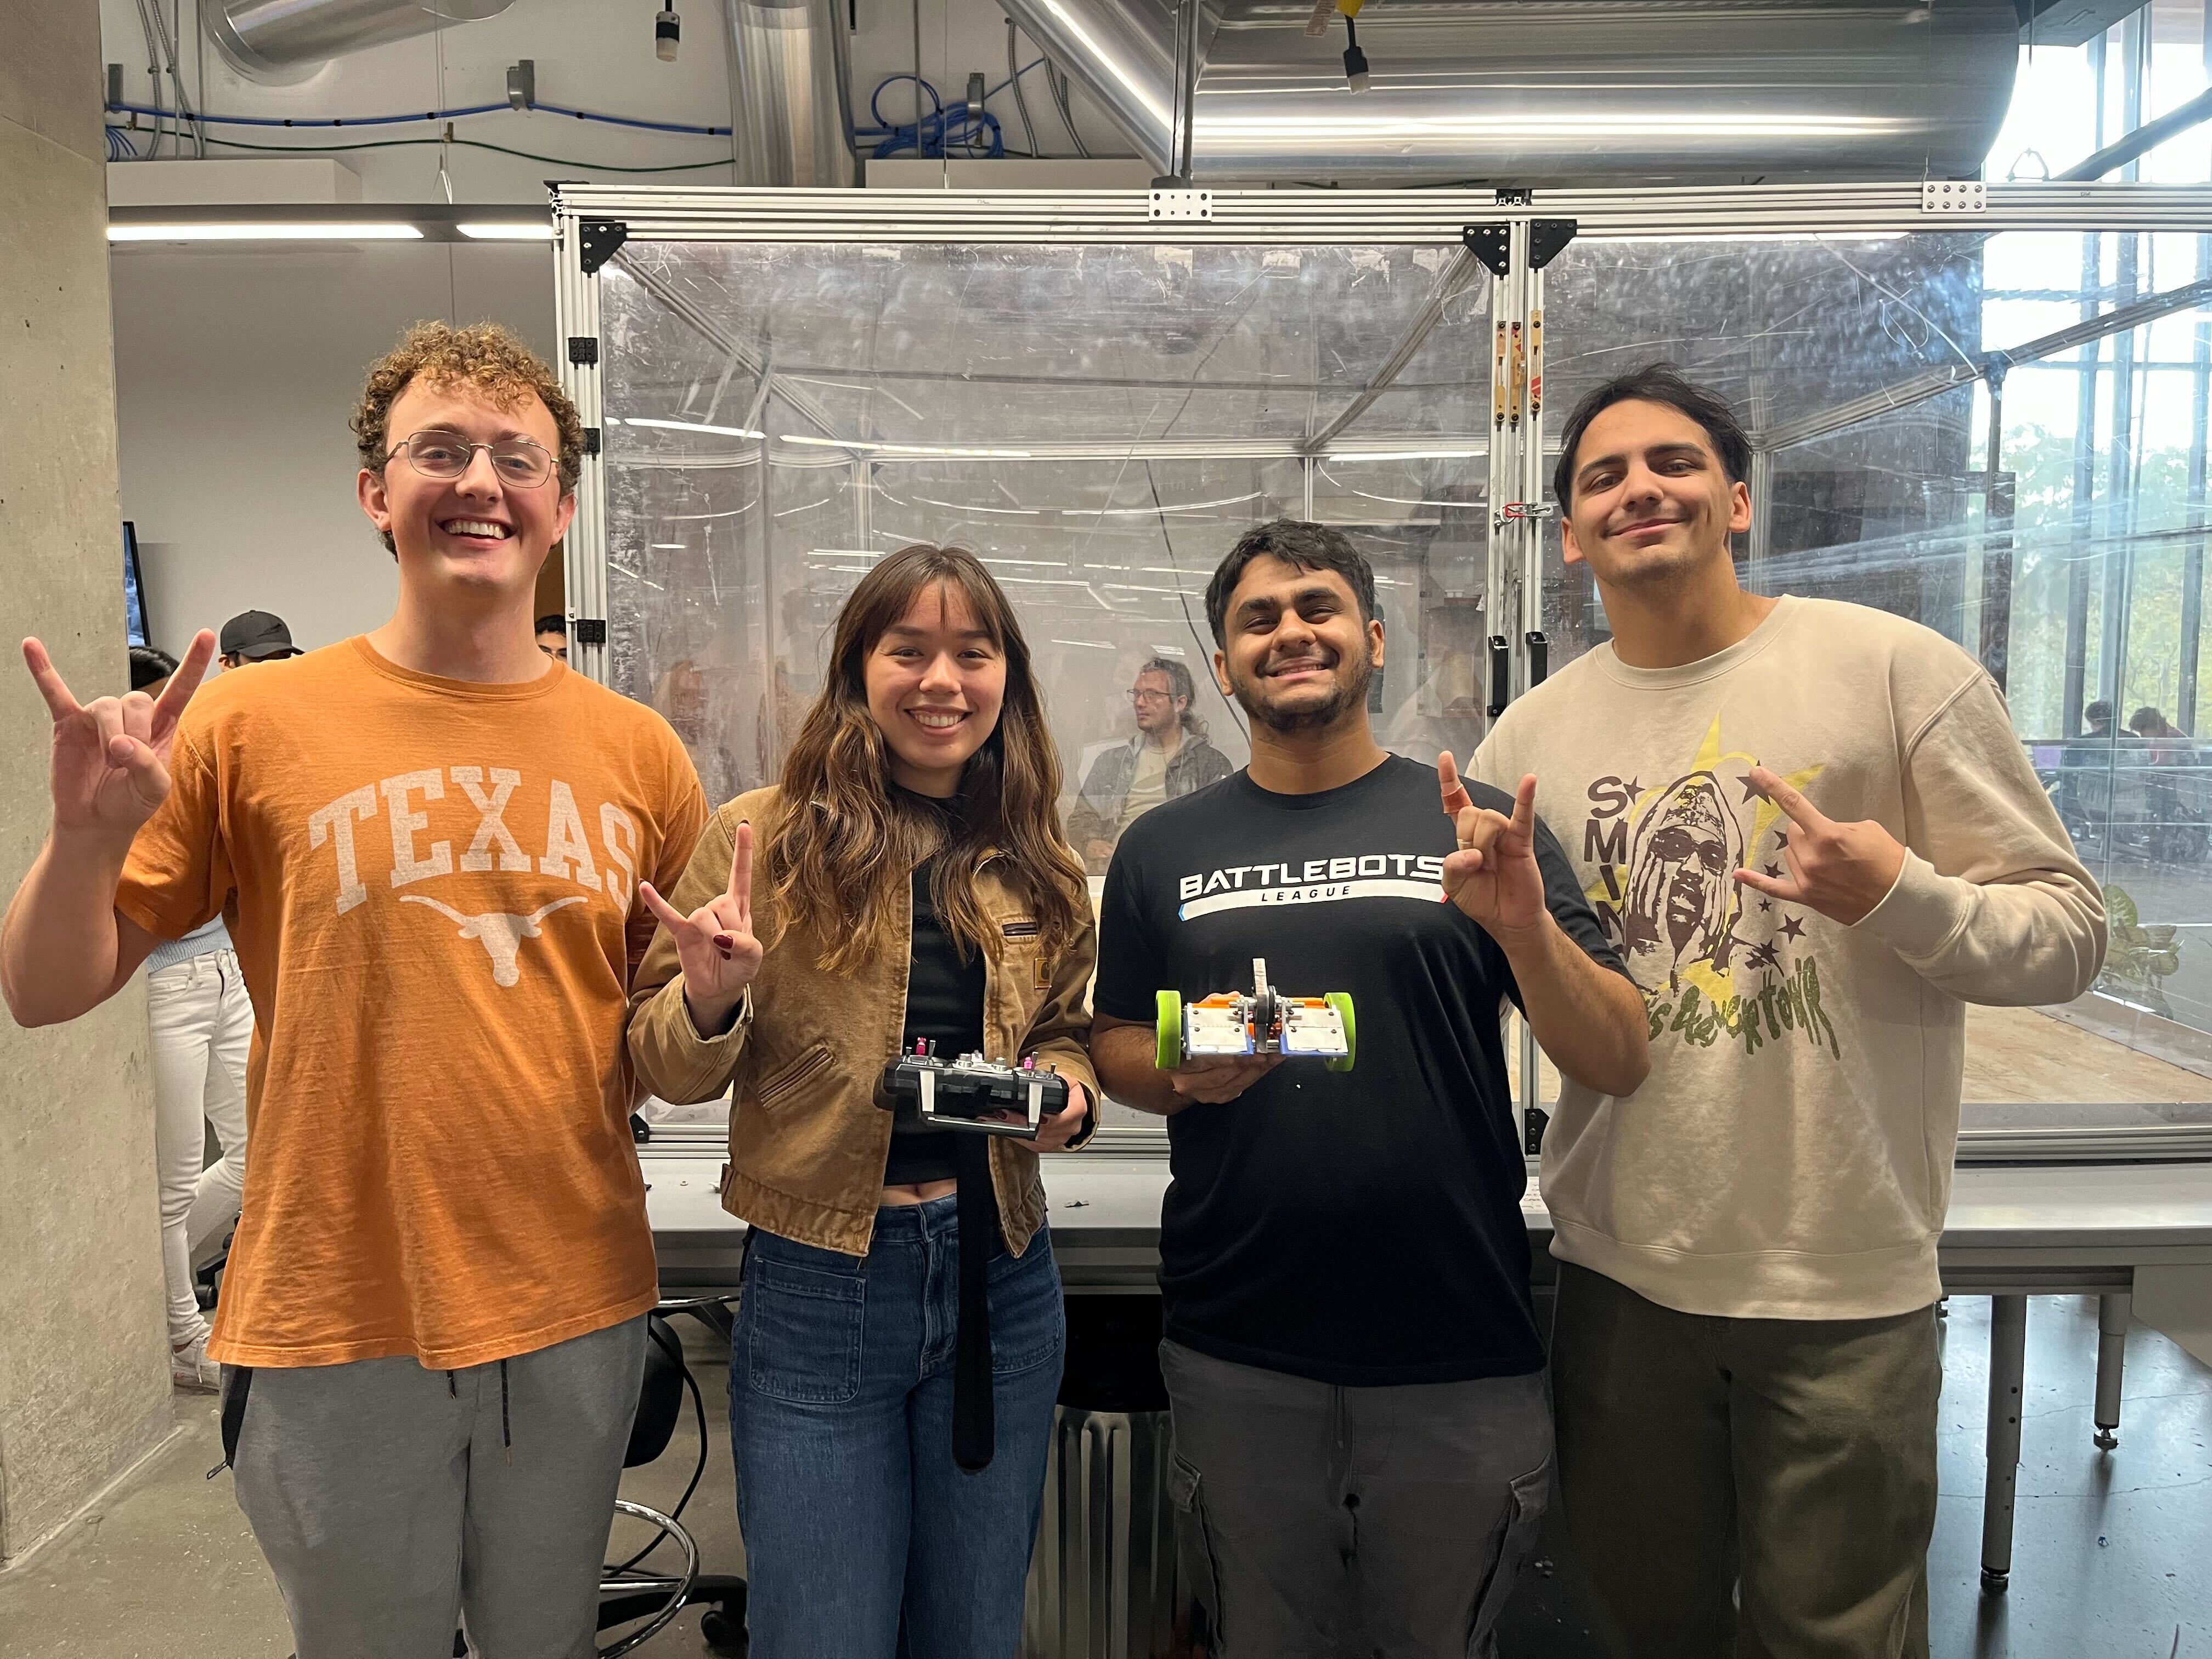
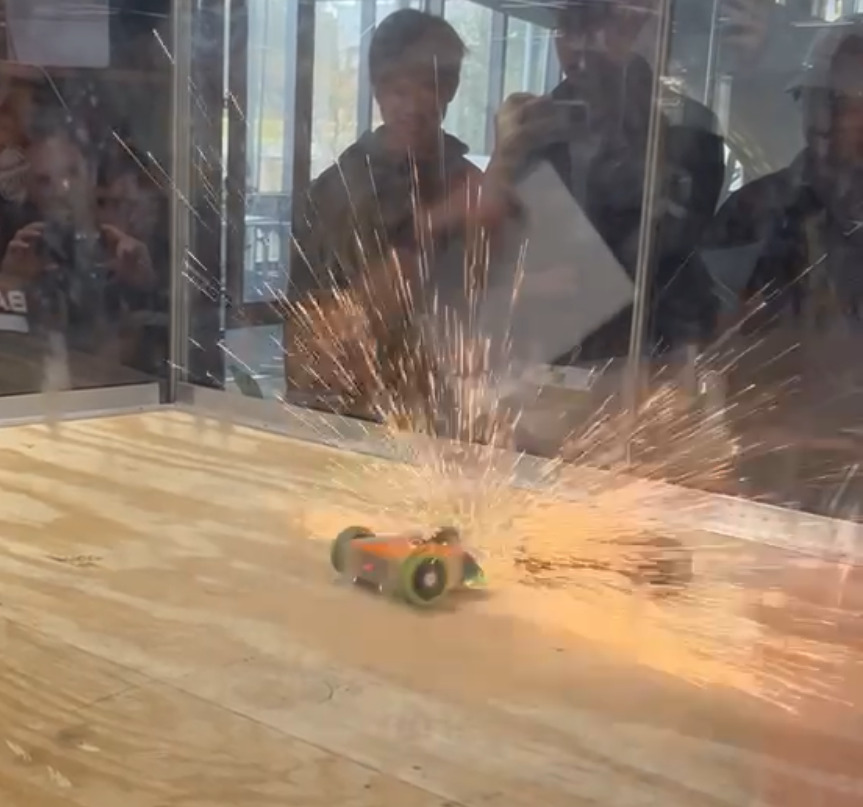
Manufacturing and Results: During the manufacturing and assembly process I designed and 3D printed a few pieces to better retain some of our internal wiring. In addition to this I also machined the COTS pulley that we had ordered to use as the pulley for our weapon. This required me to bore out the center precisely for a bearing fit. I also led the final assembly where we verified wiring connections and the tightness of each bolt and screw. Competition day went very well and a team picture is shown below in addition to a freeze frame from a weapon to weapon hit in one of our fights.
Team Picture
Weapon to Weapon
Key Takeaways and Skills Utilized
While I had made a battlebot a few times before, this project really focused on the design process and analysis of our design. In addition the constrained budget required me to come up with creative ways to select cheaper components and lower manufacturing costs.
Skills Used
- Dynamics Analysis
- Solidworks
- CNC Mill Machining
- Manual Lathe Machining
- 3D Printing
- Failure Analysis
- Design of Experiments
Additional Information
More information on this project can be found in the final report. For any further questions regarding design, strategy, or part and material selection please contact John Lyle.