Toy Basketball Shooter

A toy basketball shooter and kinematic analysis completed for the final project in ME 350R - Robot Mechanism Design
Published on April 29, 2024 by John Lyle
Robotics Programming Analysis Electronics
Summary
Demonstration:
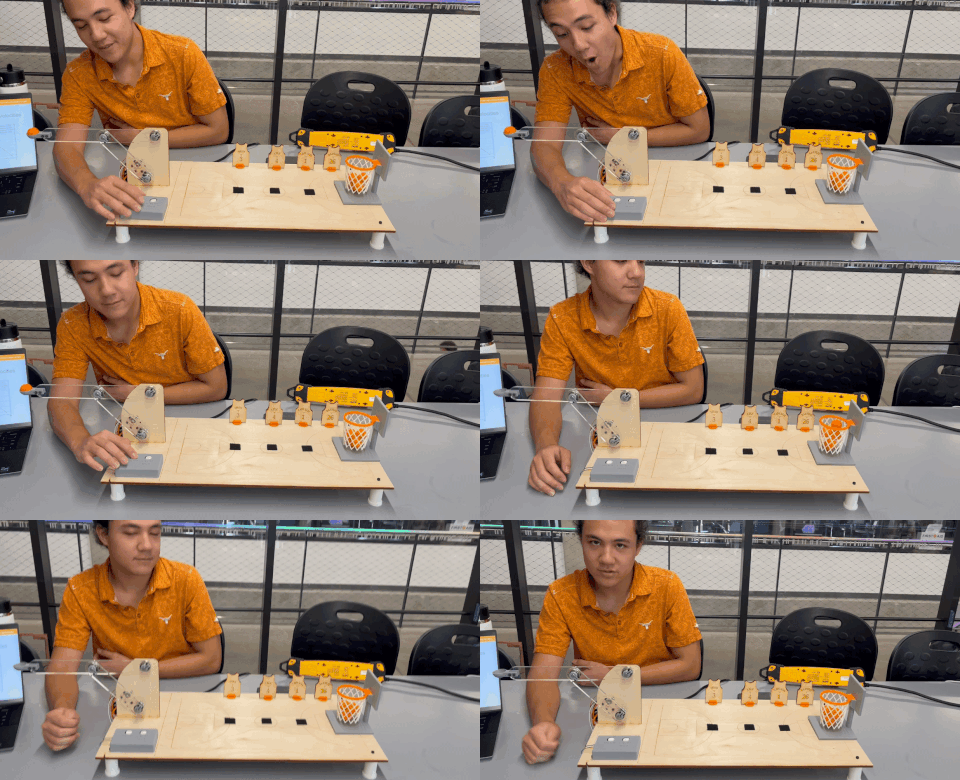
Problem Statement: Create a mechanism that converts simple rotary motion to complex motion using lessons learned in kinematic analysis and design from ME 350R: Robot Mechanism Design.
Project Timeline: Our group decided to create a toy basketball shooter. We first used kinematic analysis to design a mechanism that mimicked Steph Curry’s shooting motion. Next we iterated through multiple versions of the mechanism to refine the shooting motion and minimize play in the joints. Finally we created the support structure for the mechanism and implemented the electronics and controls for the mechanism.
Individual Contributions: I served as the project lead for this project and managed the overall completion. My contributions were the electronics and controls system, kinematic and projectile motion analysis, and design of electrical component mounts.
Design Process Overview
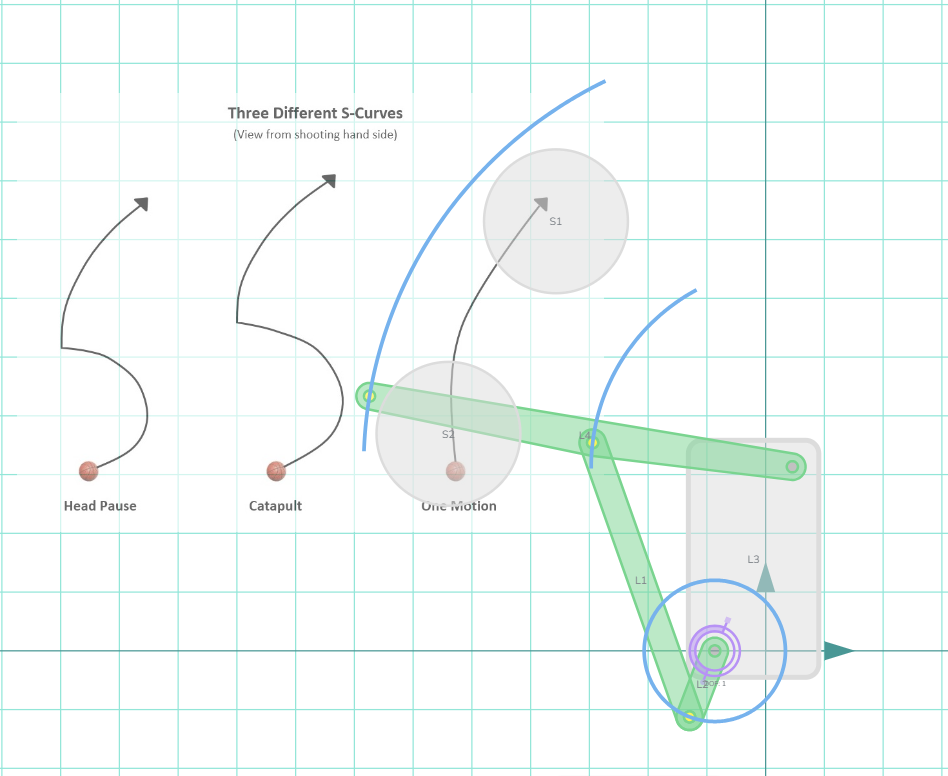
Desired Shooting Motion: Using online tools we simulated various shot paths to get as close to our desired shooting motion as possible.
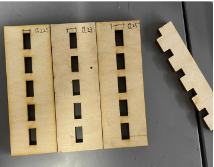
Prototyping: In order to remove any inconsistency in the shot motion we wanted to remove as much play from the system as possible. During prototyping we did lots of test fits to achieve this goal.
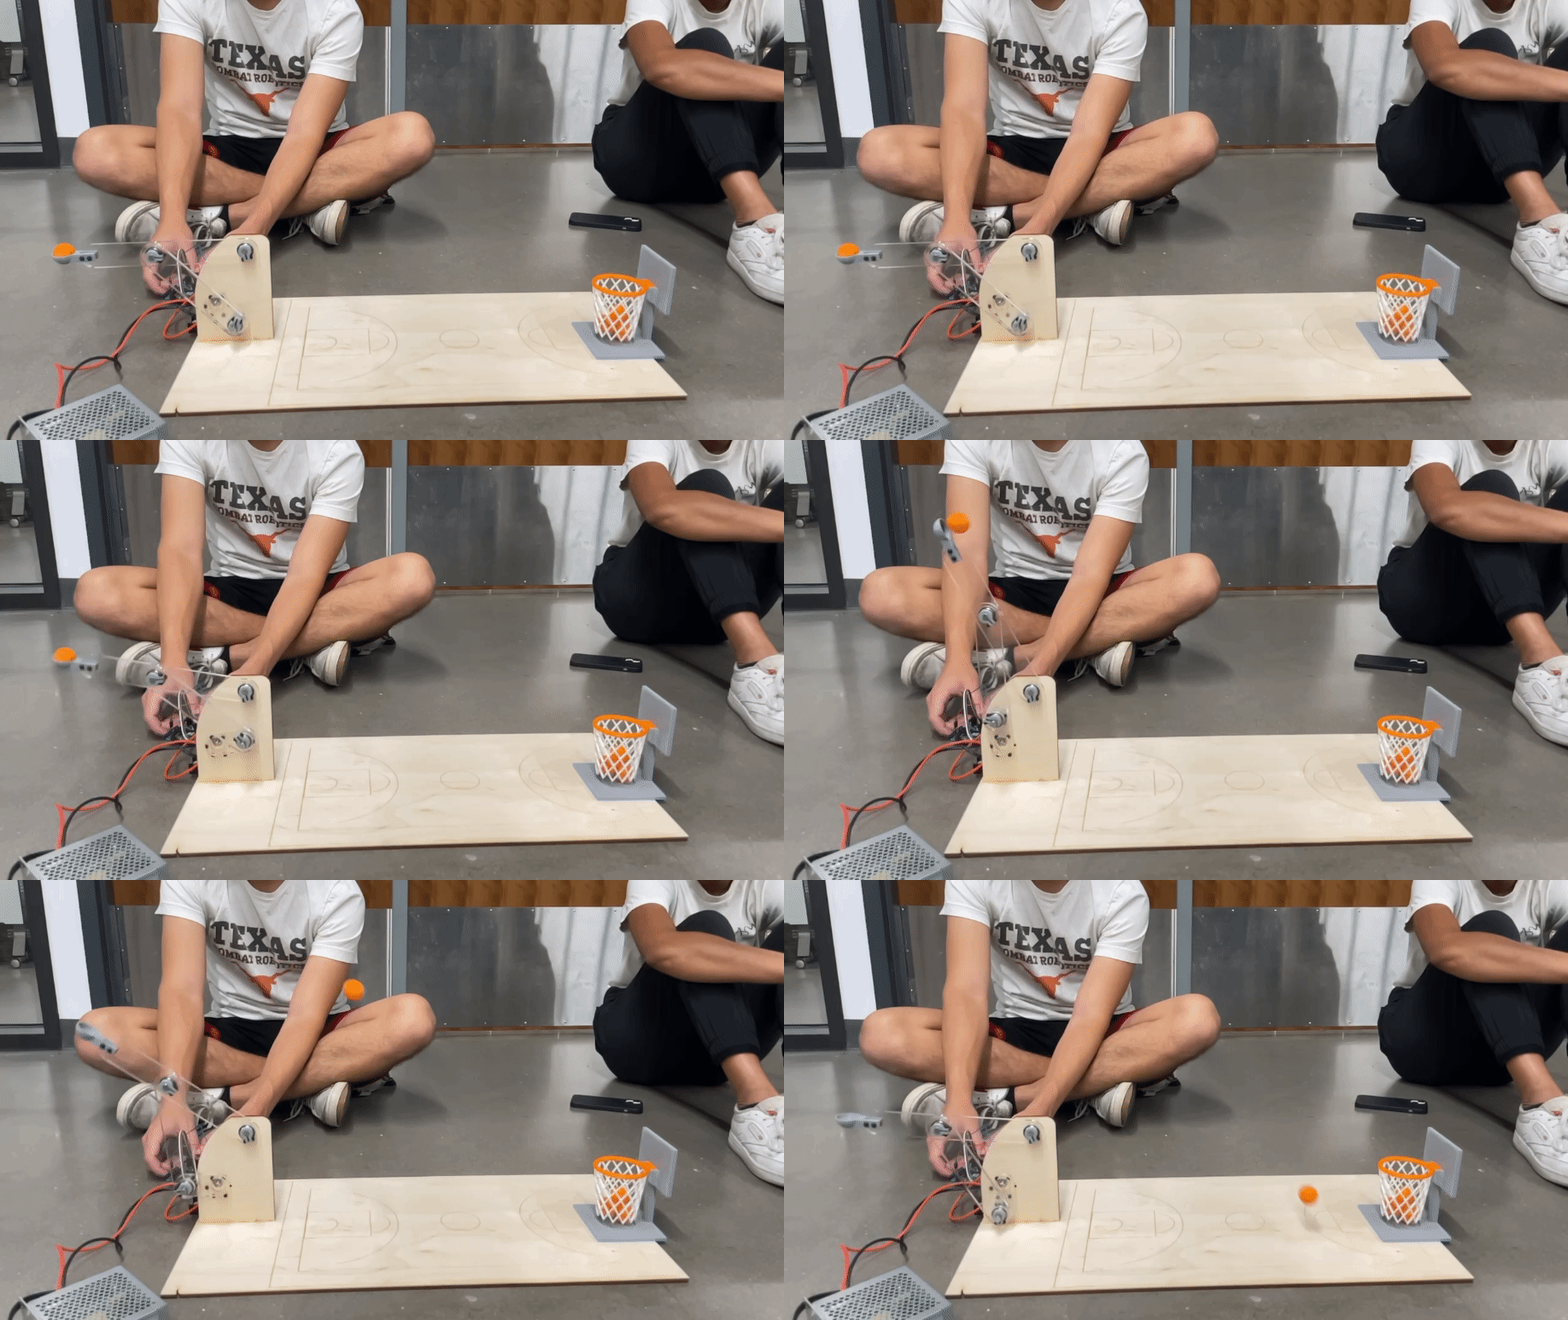
Testing: Once our mechanism was complete we tested it’s capabilities and decided to increase the arm length to shoot farther.
Personal Contributions
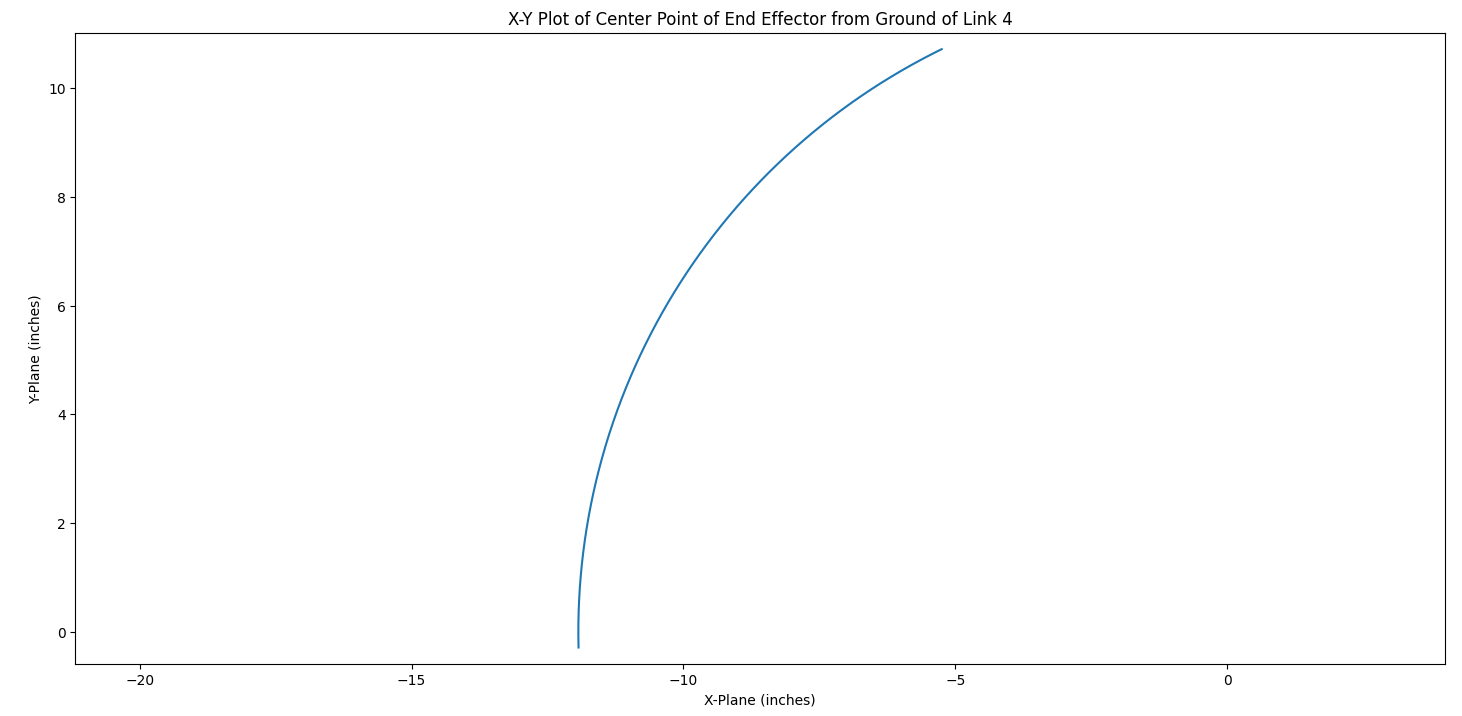
Kinematic and Projectile Motion Analysis: One of the requirements for this project was to apply in-class learnings as part of our design process. For this requirement I completed a kinematic analysis of the mechanism which is detailed in the pictures below.In addition to this I also completed a projectile motion analysis which used desired shot distances to calculate a theoretical input velocity to the motor. This served as a good starting point for tuning the shooting distances. All of the following images were created using Python and it’s various packages.
Input Angle vs. Output Angle

Angular Velocity In/Out Ratio vs. Input Angle

Shot path in X-Y plane
Projectile Motion Analysis
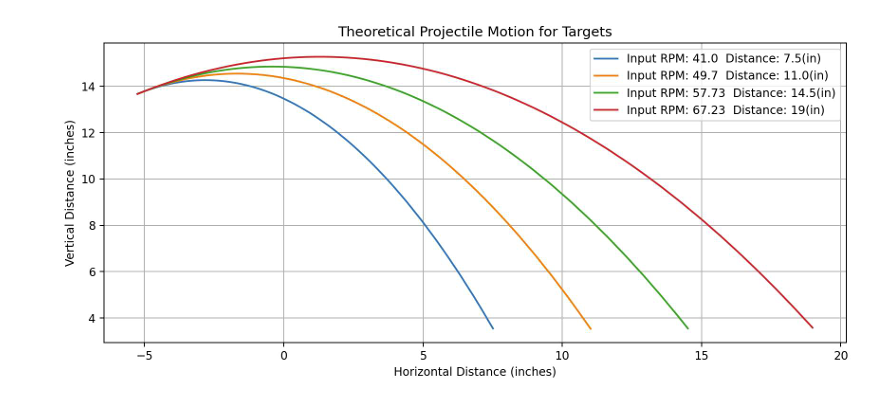
Electronics and Controls: The controller for this project was an Arduino Uno which controlled a 12V DC motor through an L298N motor driver. I set up the whole electrical system and wrote the code that operated the mechanism. The buttons were used to cycle through various PWM signals and run times for each shot distance. These values were determined using the aforementioned projectile motion analysis and fine-tuned using experimental data.
Electronics Diagram

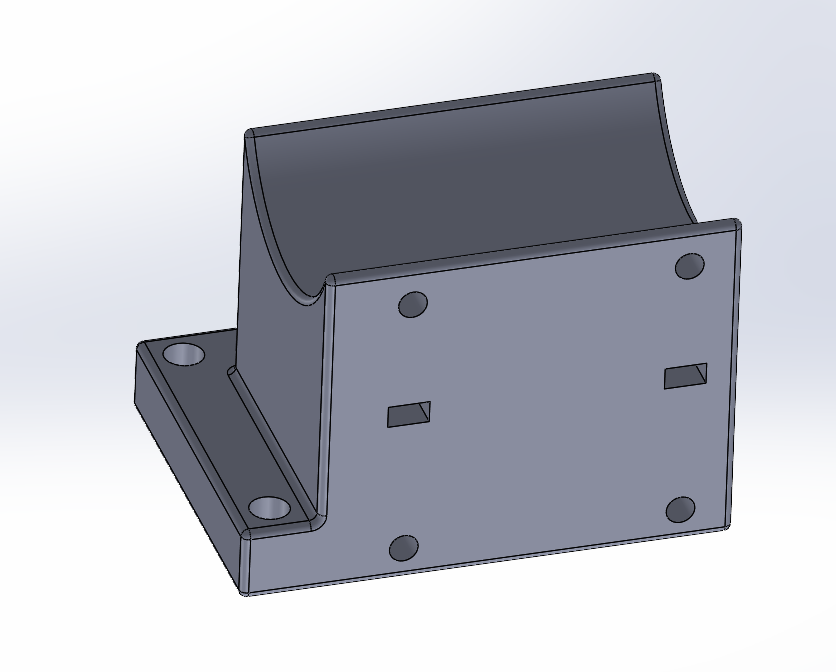
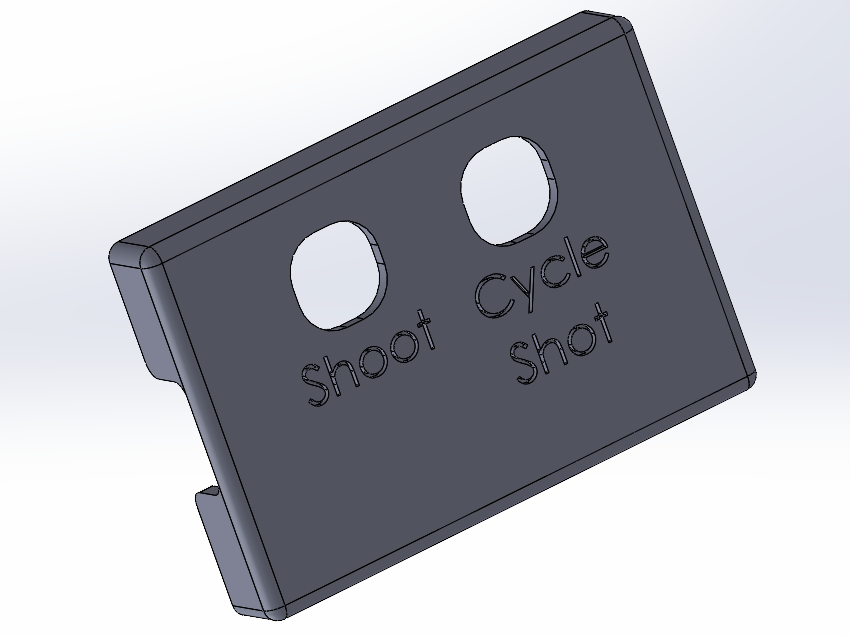
Component Design: The following pictures depict components that I designed for this project. The majority of them are mounting pieces for various electrical components. In addition to designing these I also manufactured these parts through 3D printing and laser cutting.
Motor and Motor Driver Mount
Button Cover
Key Takeaways and Skills Utilized
This project was a great opportunity to apply my learnings in mechanism design and kinematic analysis from the course. It taught me how to use preliminary calculations to form a prototype and then iterate to achieve desired motion profiles.
Skills Used
- Python programming
- Arduino programming
- Circuit Design
- Solidworks
- Tolerancing Designed Parts
- 3D Printing
- Laser Cutting
Additional Information
More information on this project as well as the analysis code can be found at the following links